
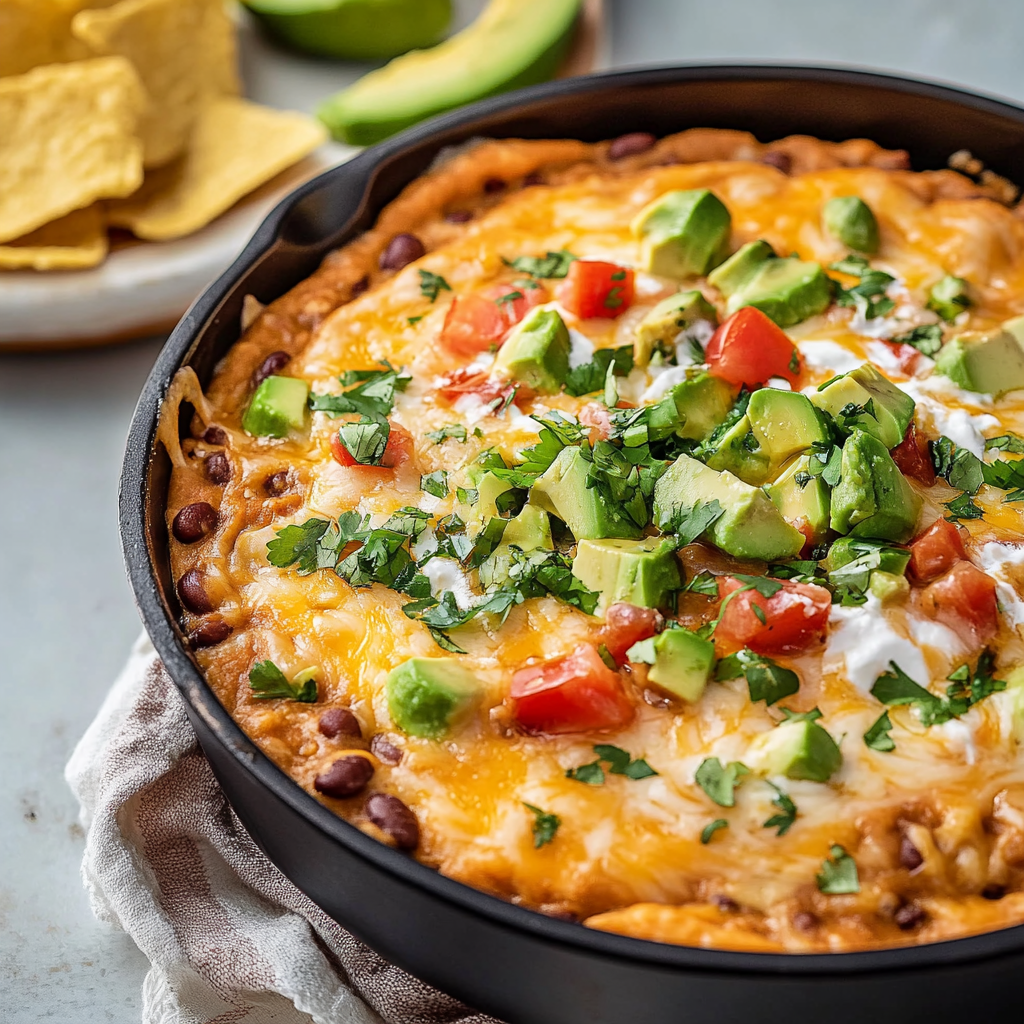
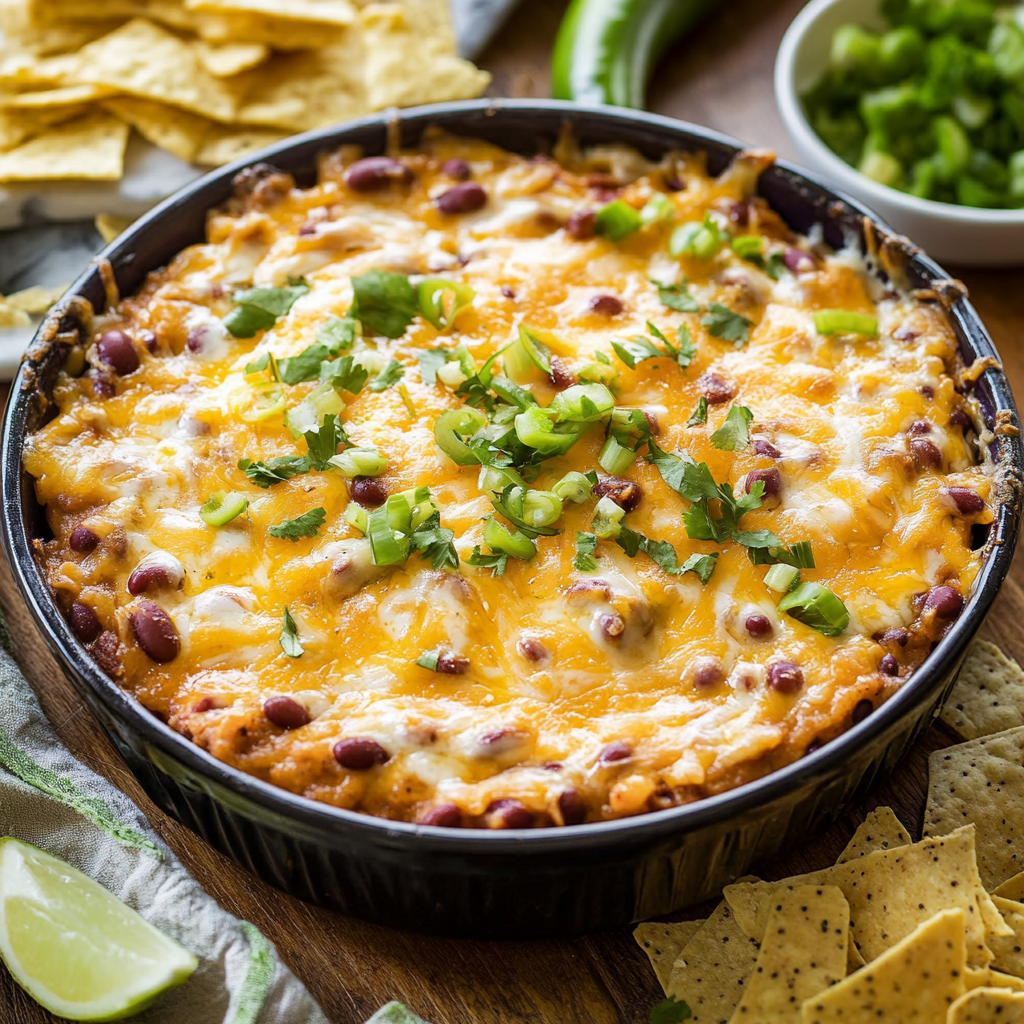
Cheesy Bean Dip is the ultimate crowd-pleaser that combines the creamy goodness of melted cheese with the hearty texture of refried beans. This dish is perfect for parties, game nights, or even a simple snack to indulge in with your favorite tortilla chips. Whether you’re hosting a gathering or looking for a quick appetizer, this dip is versatile, easy to make, and always a hit.
The beauty of Cheesy Bean Dip lies in its simplicity and the ability to customize it to suit your taste buds. Want it spicy? Add some jalapeños. Prefer a milder flavor? Stick to the basics. Either way, the result is a creamy, cheesy, and flavorful dip that pairs perfectly with crunchy chips or fresh veggies.
In this article, we’ll walk you through everything you need to make this savory treat, from the ingredients list to detailed instructions. Plus, we’ll share tips and tricks to avoid common mistakes and elevate your cooking game. Let’s dive in!
What You’ll Need
Creating a delicious Cheesy Bean Dip requires a handful of pantry staples and a few fresh additions to enhance the flavor. Here’s a detailed breakdown of the ingredients:
Ingredients
- Refried Beans: 2 cups of canned or homemade refried beans, providing the creamy, hearty base for the dip.
- Cream Cheese: 1 cup, softened, for that rich and tangy creaminess.
- Sour Cream: 1/2 cup, adding a slight tang and smooth consistency.
- Cheddar Cheese: 2 cups, shredded, for a bold, cheesy flavor. Reserve some for topping.
- Taco Seasoning: 2 tablespoons for a blend of spices that bring warmth and depth.
- Green Chiles: 1 small can (4 oz), diced, for a mild heat and zesty flavor.
- Optional Garnishes: Sliced jalapeños, diced tomatoes, or chopped cilantro for presentation and added taste.
Kitchen Tools
- Mixing bowl
- Spatula or spoon
- 9×9-inch baking dish
- Oven or microwave for heating
- Serving bowl
Having all your ingredients and tools ready before starting ensures a smooth cooking process and makes cleanup a breeze.
How to Make
Preparing Cheesy Bean Dip is straightforward and doesn’t take much time. Follow these step-by-step instructions for a dip that’s sure to impress:
Step 1: Preheat the Oven
Preheat your oven to 375°F (190°C). This ensures an even bake and allows the cheese to melt into a gooey, golden layer.
Step 2: Combine the Base Ingredients
In a large mixing bowl, combine the refried beans, softened cream cheese, sour cream, and taco seasoning. Stir until the mixture is smooth and well-blended. The cream cheese should be fully incorporated for a creamy texture.
Step 3: Add the Flavor Enhancers
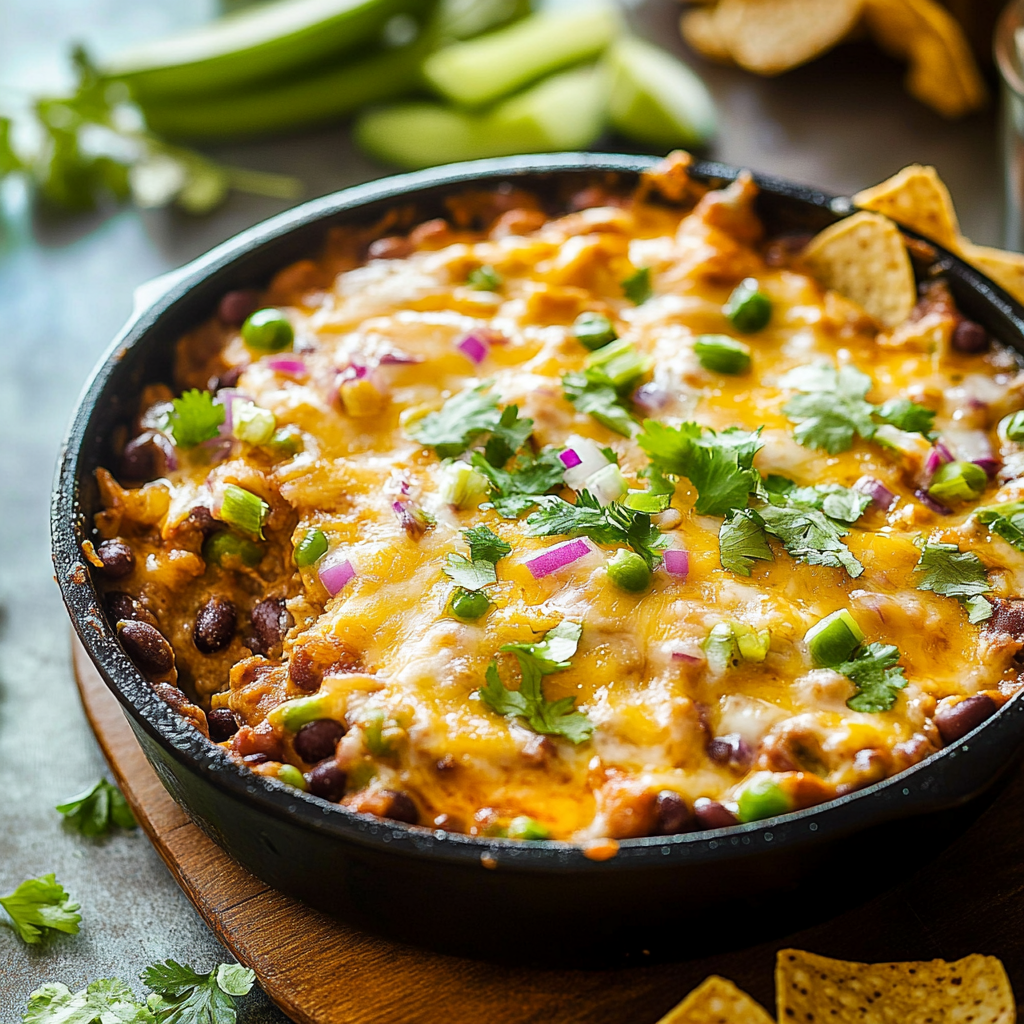
Fold in the diced green chiles and 1 1/2 cups of shredded cheddar cheese. These ingredients bring a zesty kick and extra cheesiness to the dip.
Step 4: Assemble the Dip
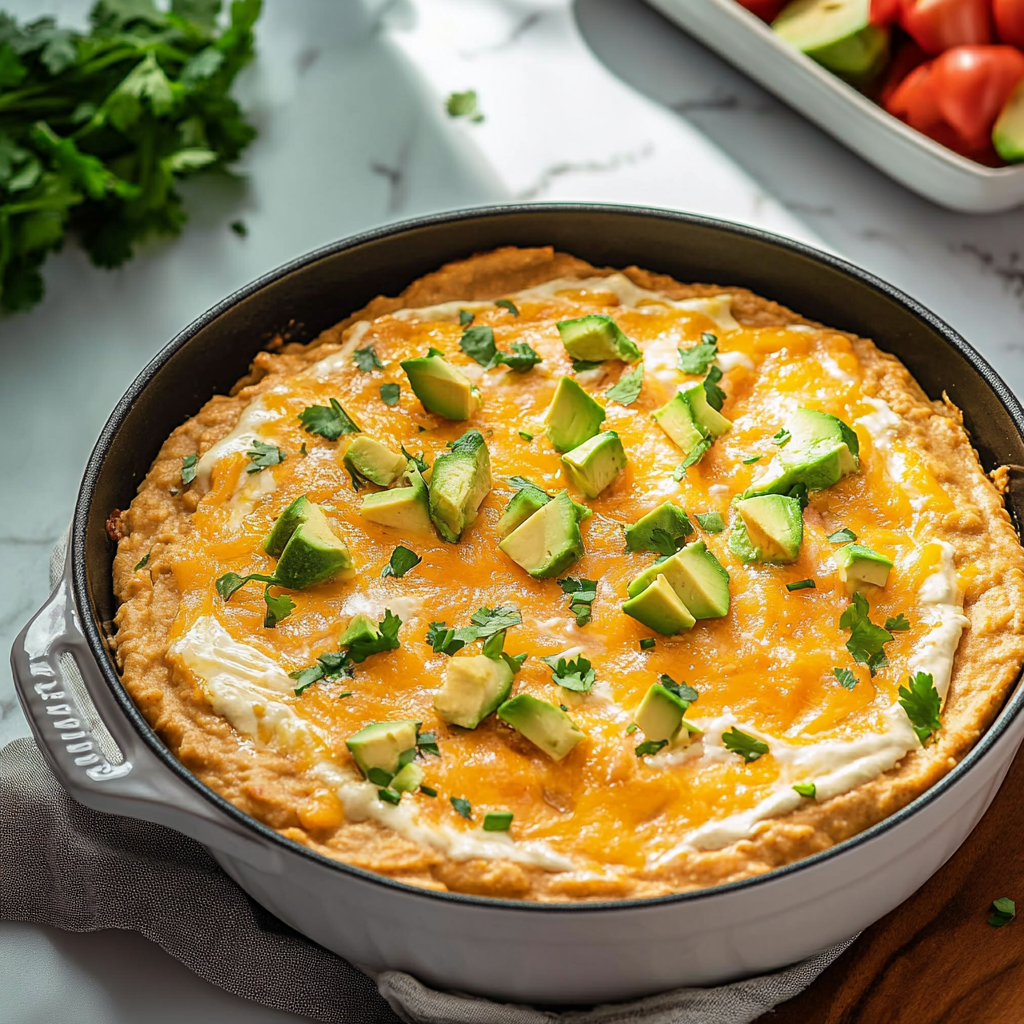
Transfer the mixture to a greased 9×9-inch baking dish. Spread it evenly using a spatula. Sprinkle the remaining cheddar cheese on top to create a bubbly, golden crust during baking.
Step 5: Bake to Perfection
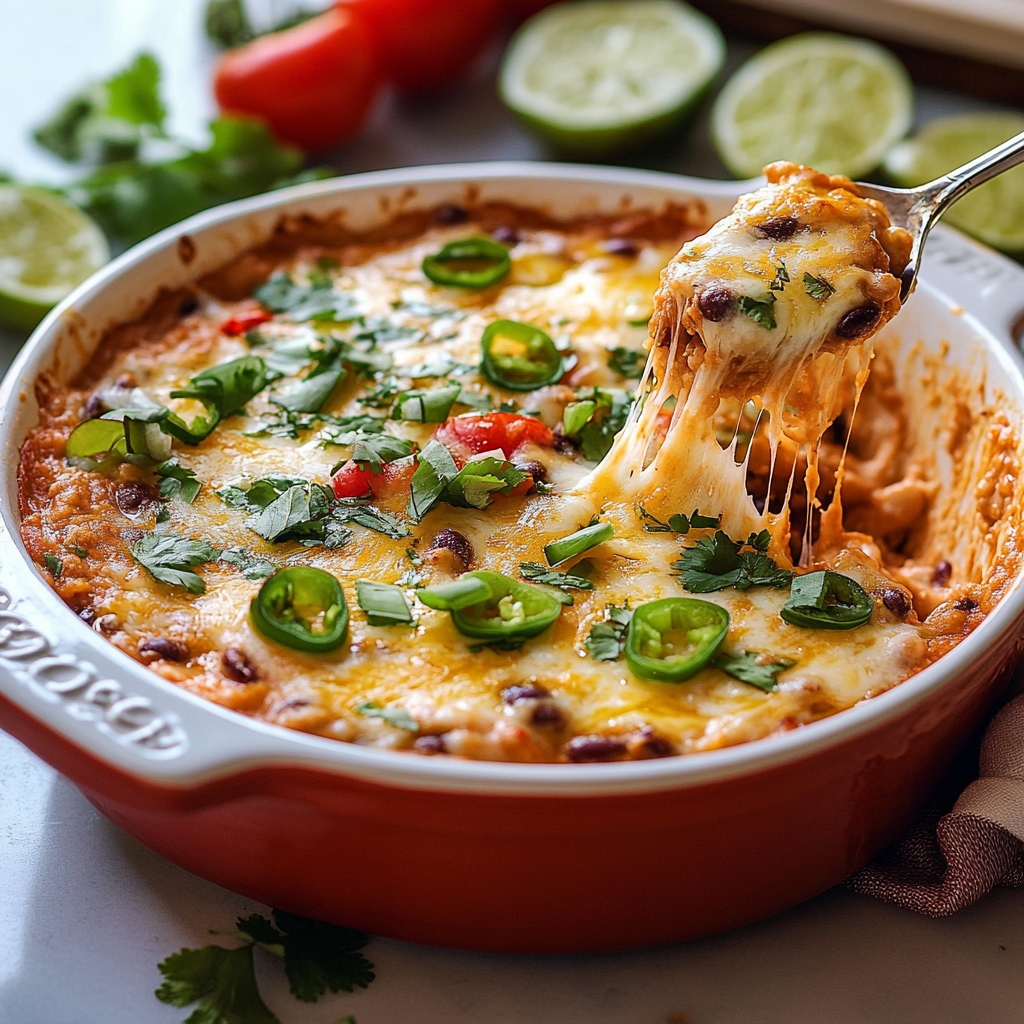
Place the dish in the preheated oven and bake for 20-25 minutes, or until the cheese on top is melted and lightly browned.
Optional Step: Broil for Extra Color
For an irresistible golden crust, switch the oven to broil for the last 2-3 minutes. Keep a close eye to prevent burning.
Step 6: Serve Warm
Carefully remove the dish from the oven and let it cool for 5 minutes. Transfer the dip to a serving bowl if desired. Garnish with your choice of jalapeños, diced tomatoes, or chopped cilantro before serving with tortilla chips, crackers, or fresh vegetables.
Serving and Storage Tips
Cheesy Bean Dip is best served warm to enjoy its creamy and melty texture, but it can be reheated if needed. Here are some tips to maximize flavor and freshness:
Serving Tips
- Pairing Suggestions: Serve with tortilla chips for a classic combination, or opt for pita bread, toasted baguette slices, or crunchy veggies like celery and carrot sticks for a lighter alternative.
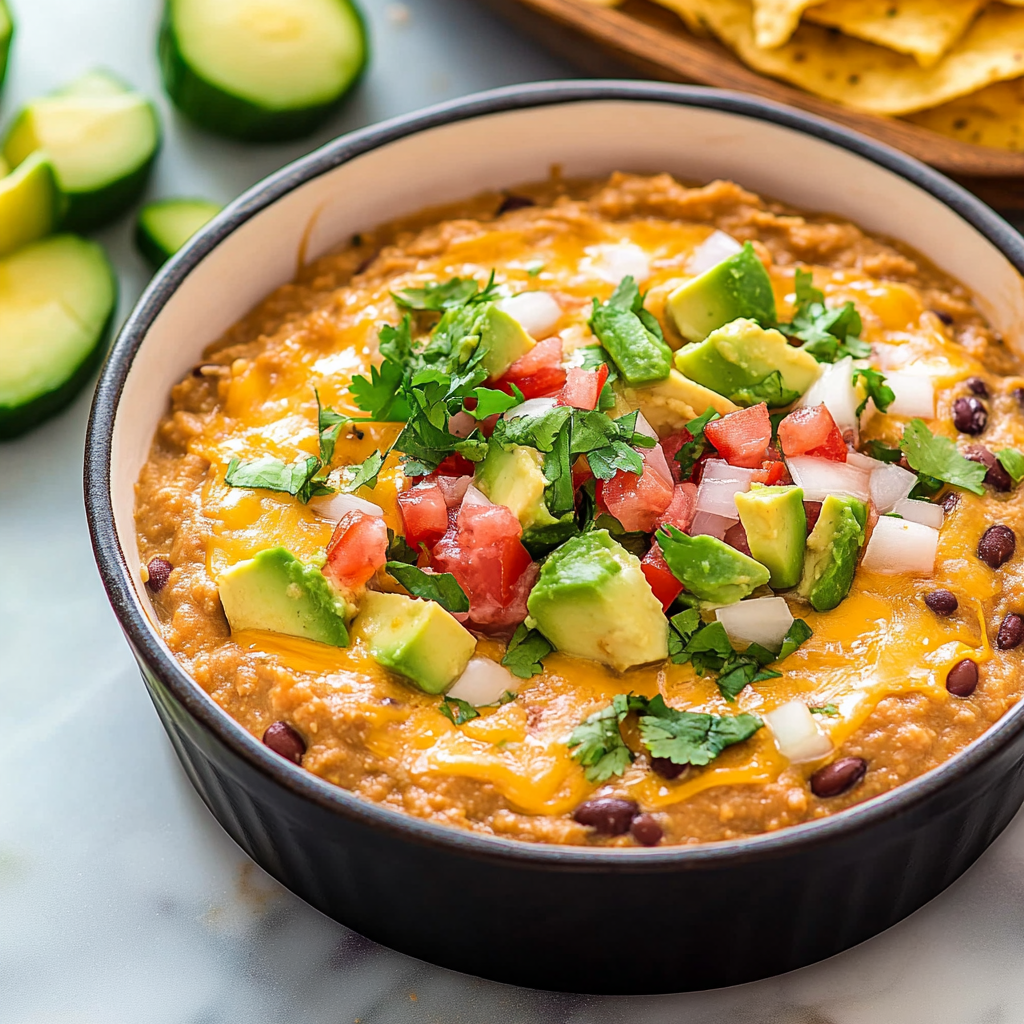
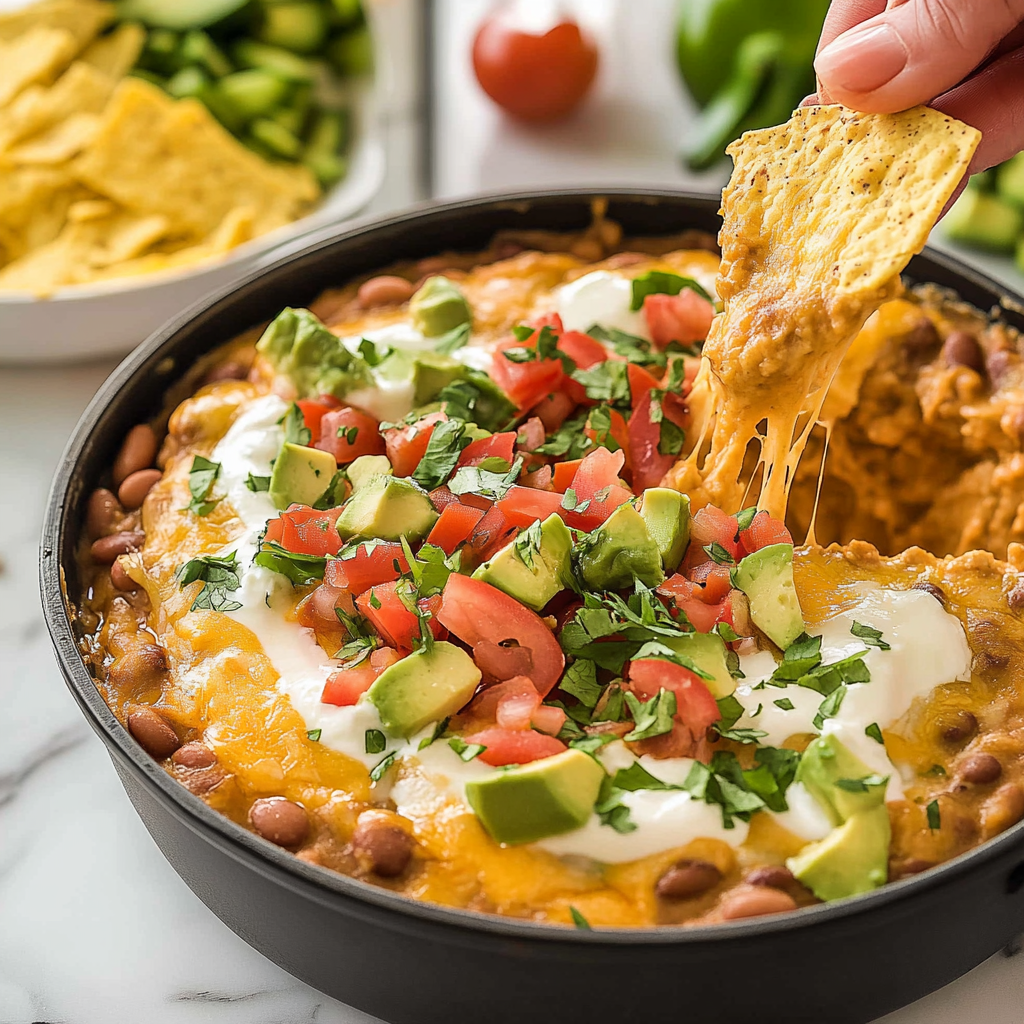
- Garnishes: Add a pop of color and flavor with toppings such as diced avocados, fresh cilantro, or a drizzle of salsa. If you enjoy spicy food, sprinkle crushed red pepper flakes or add sliced jalapeños.
- Portion Control: If hosting a party, consider portioning the dip into individual ramekins or small bowls to ensure everyone gets their fair share.
Storage Tips
- Refrigeration: Store leftover dip in an airtight container and refrigerate for up to 3 days.
- Freezing: Cheesy Bean Dip can be frozen in a freezer-safe container for up to 2 months. Thaw overnight in the refrigerator before reheating.
- Reheating: Warm the dip in the oven at 350°F (175°C) for 10-15 minutes or microwave in 30-second intervals, stirring in between, until heated through.
Explore endless possibilities for your next meal.
Mistakes to Avoid
Even with a simple recipe like Cheesy Bean Dip, certain missteps can impact the flavor and texture. Here’s how to sidestep common mistakes:
1. Using Low-Quality Ingredients
- Mistake: Opting for low-quality cheese or overly processed beans can result in a dip that lacks flavor and richness.
- Solution: Use freshly shredded cheddar cheese for better melting and flavor. Select a quality brand of refried beans, or make them from scratch for the best results.
2. Skipping the Preheat Step
- Mistake: Starting with a cold oven can cause uneven cooking and delay the melting of the cheese.
- Solution: Always preheat the oven to the specified temperature before baking.
3. Overbaking
- Mistake: Leaving the dip in the oven too long can dry it out or burn the cheese topping.
- Solution: Set a timer and check the dip after 20 minutes. Look for melted, bubbly cheese that’s slightly golden.
4. Neglecting Seasoning Adjustments
- Mistake: Under-seasoning the dip can make it bland, while over-seasoning can overpower the dish.
- Solution: Taste the mixture before baking and adjust the seasoning, keeping in mind that cheese and chips often contain salt.
5. Overloading the Dip with Toppings
- Mistake: Adding too many toppings can overwhelm the dip and make it challenging to serve.
- Solution: Stick to one or two garnishes for flavor and presentation balance.
Discover simple yet flavorful ideas of Savory Pumpkin Whipped Feta Dip.
Tips and Tricks
To make your Cheesy Bean Dip truly exceptional, consider these expert tips:
1. Customize the Cheese Blend
- Use a mix of cheeses like Monterey Jack, Pepper Jack, or Colby for a nuanced flavor profile. These cheeses melt well and pair beautifully with the beans.
2. Add Protein for a Heartier Dip
- Fold in cooked ground beef, shredded chicken, or crumbled sausage to turn the dip into a more substantial dish that can double as a meal.
3. Incorporate Fresh Ingredients
- Stir in finely chopped onions, bell peppers, or fresh garlic for added texture and flavor. These fresh elements elevate the dip’s taste and make it more dynamic.
4. Experiment with Spice Levels
- Adjust the heat level by adding diced jalapeños, cayenne pepper, or a splash of hot sauce. Alternatively, use mild taco seasoning and green chiles for a milder version.
5. Make It Ahead
- Prepare the dip mixture a day in advance and store it in the refrigerator. Bake just before serving for maximum freshness and convenience.
Treat yourself to more amazing recipes!
Suggestions
Cheesy Bean Dip is versatile and can fit various occasions, tastes, and dietary needs. Here are some creative ways to enhance or repurpose this dip:
1. Perfect Pairings
- Game Day Favorite: Pair the dip with crunchy tortilla chips, nachos, or pretzel bites for the ultimate game-day snack.
- Healthier Alternatives: Serve with an assortment of fresh vegetables like celery sticks, cucumber slices, or bell pepper strips for a lighter option.
2. Upgrade with Add-Ins
- Southwest Flair: Stir in roasted corn, black beans, or diced avocado for a southwestern-inspired dip.
- Extra Savory: Add a dollop of Greek yogurt or sprinkle cooked, crumbled chorizo on top for added richness and depth of flavor.
3. Transform into a Main Dish
- Spread the dip over cooked rice, quinoa, or baked potatoes to turn it into a satisfying entrée.
- Use as a filling for quesadillas, burritos, or enchiladas for a quick and flavorful meal.
4. Make It Kid-Friendly
- Opt for mild cheeses and taco seasoning to ensure the dip is not too spicy for younger palates.
- Serve in small portions with crackers or pita chips that are easy for kids to handle.
5. Entertaining Made Easy
- Prepare the dip in a slow cooker for larger gatherings, keeping it warm and gooey throughout the event.
- Offer a toppings bar where guests can customize their servings with olives, jalapeños, or fresh salsa.
Keep the good food coming with these Buffalo Chicken Dip: A Spicy Crowd-Pleaser.
FAQ
1. Can I Make Cheesy Bean Dip Ahead of Time?
- Answer: Absolutely! Prepare the dip mixture up to 24 hours in advance and refrigerate it. When ready to serve, bake it in the oven until heated through and bubbly.
2. How Do I Reheat Leftovers?
- Answer: Reheat the dip in the oven at 350°F (175°C) for about 10-15 minutes or microwave it in 30-second intervals, stirring each time.
3. Can I Use Low-Fat Ingredients?
- Answer: Yes, you can substitute low-fat cream cheese, sour cream, and cheese. However, keep in mind that the texture may be slightly less creamy.
4. What if I Don’t Have Taco Seasoning?
- Answer: Make your own by combining chili powder, paprika, garlic powder, onion powder, cumin, and salt. Adjust to taste for the perfect seasoning mix.
5. Can I Freeze Cheesy Bean Dip?
- Answer: Yes, the dip freezes well. Store it in an airtight container for up to 2 months. Thaw overnight in the refrigerator before reheating.
Master the art of cooking with these tips and recipes.
Conclusion
Cheesy Bean Dip is a versatile, crowd-pleasing recipe that can be adapted to suit any occasion or preference. Whether you’re hosting a party, enjoying a cozy movie night, or prepping a quick snack, this dip is guaranteed to deliver a burst of flavor and cheesy goodness. With simple ingredients and customizable options, it’s a dish you’ll come back to time and time again.
Description
This creamy and flavorful Cheesy Bean Dip is the ultimate party snack or appetizer! Perfectly spiced, cheesy, and comforting, it’s a crowd-pleaser that pairs well with chips, veggies, or breadsticks.
- Preheat the Oven: Set your oven to 350°F (175°C).
- Combine Ingredients: In a mixing bowl, combine refried beans, sour cream, cream cheese, and taco seasoning until smooth. Stir in half of each cheese type and the green chilies if using.
- Transfer to a Dish: Spread the mixture evenly into an oven-safe dish.
- Top with Cheese: Sprinkle the remaining cheddar and Monterey Jack cheese over the top.
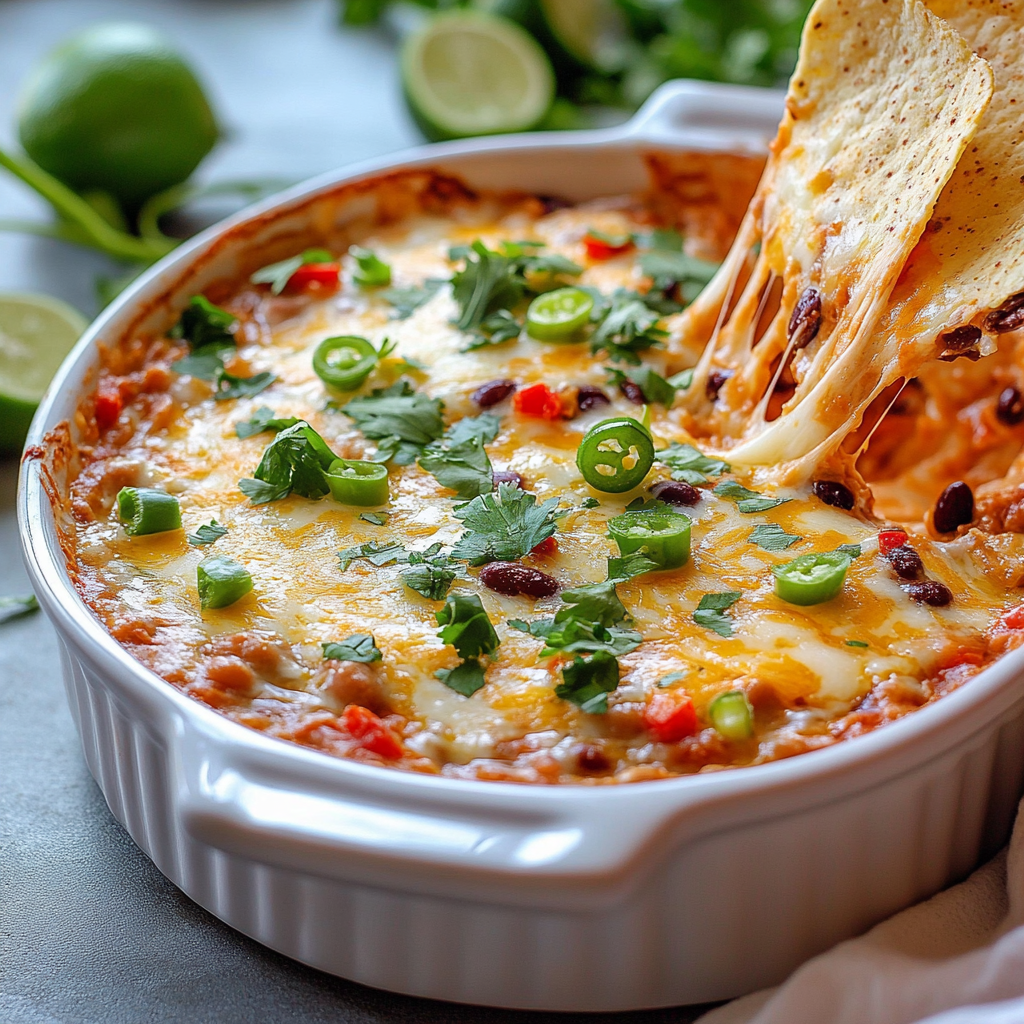
- Bake: Bake for 20 minutes or until the cheese is bubbly and golden.
- Serve: Serve warm with tortilla chips, crackers, or veggies.
Notes
- Make It Spicy: Add diced jalapeños or a dash of hot sauce for extra heat.
- Vegetarian Option: Use vegetarian refried beans if desired.
- Storage: Store leftovers in an airtight container in the refrigerator for up to 3 days.
- Prep Time: 10 minutes
- Cook Time: 20 minutes
Nutrition
- Calories: 210
- Fat: 14g
- Carbohydrates: 15g
- Fiber: 3g
- Protein: 8g