Homemade Vanilla Ice Cream
Introduction
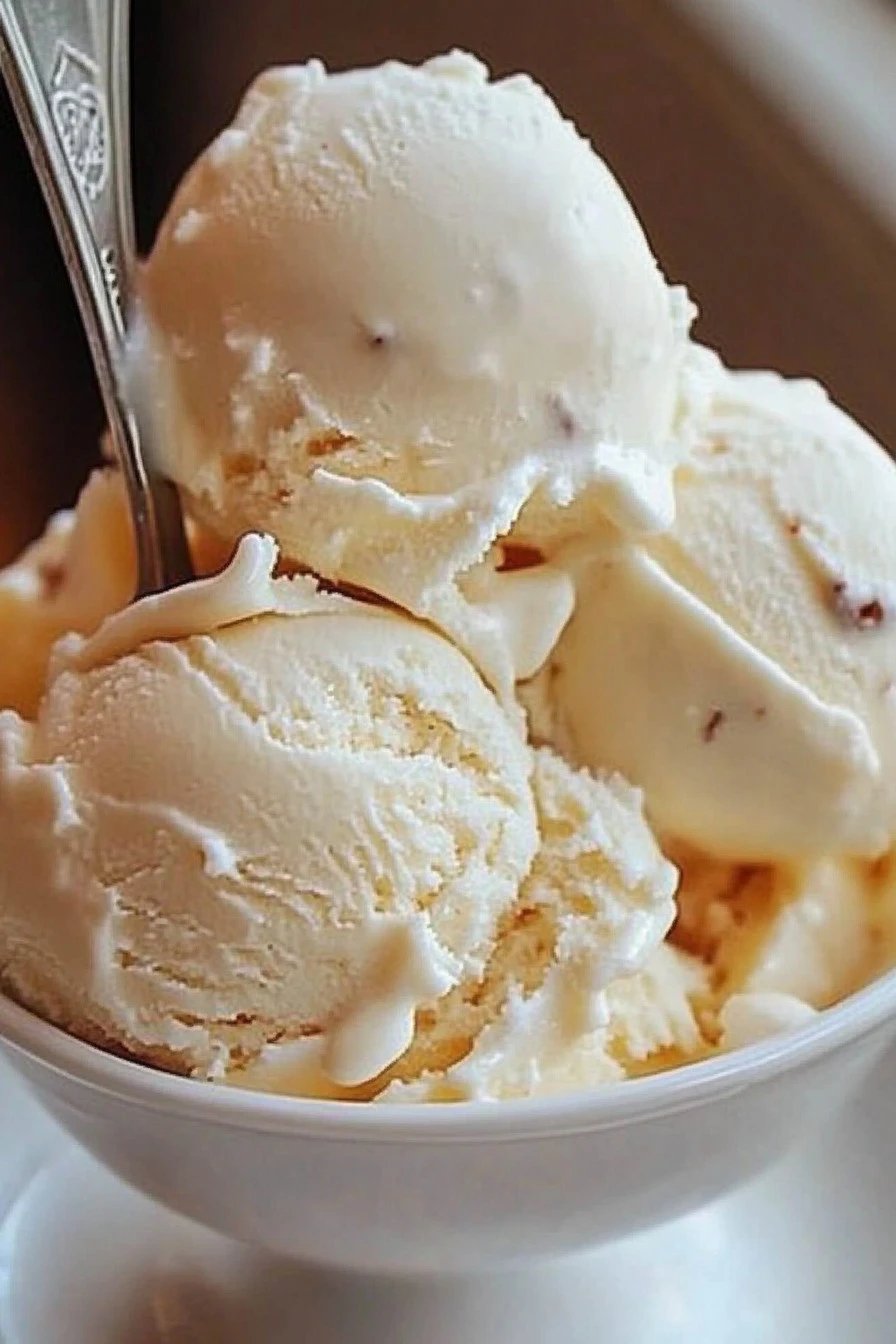
There’s something undeniably delightful about indulging in a scoop of homemade vanilla ice cream on a hot summer day. Creamy, rich, and bursting with the genuine flavor of vanilla, this treat is not just a dessert; it’s a nostalgic journey back to childhood. Imagine family gatherings, laughter, and smiles while savoring a bowl of this sweet goodness – it truly makes every moment special. Did you know that making ice cream at home is easier than you might think? With just a few simple ingredients, you can whip up a delightful batch in no time, tailor it to your taste, and enjoy a dessert that’s always a hit with both kids and adults alike.
If you’ve ever enjoyed a scoop of classic vanilla alongside a warm slice of pie or drizzled over a brownie, you know how versatile this frozen dessert can be. So, if you’re ready to create something fantastic in your kitchen, stick around to learn how you can make your very own homemade vanilla ice cream that will leave everyone asking for seconds!

What is Homemade Vanilla Ice Cream?
So, why is it called ‘vanilla ice cream’? Perhaps it’s because the star of the show is, you guessed it, vanilla! But in this classic dessert, vanilla isn’t just a flavor; it’s the soul of the experience. Its rich essence is what sets this treat apart from other flavors, pulling at your heartstrings, much like the saying, “the way to a man’s heart is through his stomach.” It’s so straightforward that you’ll feel like a culinary maestro, transforming simple ingredients into creamy bliss. So, whether you’re planning a festive celebration or simply craving a sweet pick-me-up, why not give this delightful recipe a whirl? Your tastebuds will thank you!
Why You’ll Love This Homemade Vanilla Ice Cream
Homemade vanilla ice cream is truly a showstopper for many reasons. First and foremost, it provides an unmatched creamy texture and genuine flavor that store-bought versions often lack. This dessert allows you to control the quality of ingredients, ensuring that only the best flavors make it into your bowl – a true treat for the senses! Next, making ice cream at home can save you quite a bit of money, as it’s often expensive to buy artisanal brands. Why not invest that money in high-quality ingredients and have the satisfaction of saying, “I made this!” Finally, the beauty of vanilla ice cream lies in its versatility. It can be served alone or dressed up with delightful toppings like chocolate syrup, fresh berries, or crushed nuts. It’s perfect for elevating just about any dessert! If you’re still on the fence, try pairing it with a freshly baked pie or a decadent brownie – the combination will have you coming back for more!
How to Make Homemade Vanilla Ice Cream
Quick Overview
Making homemade vanilla ice cream is a delightful experience that’s both simple and satisfying! In just around an hour of active time (not including chilling), you can create a luscious dessert that rivals any ice cream parlor. With a handful of straightforward ingredients and a bit of patience while it churns, this recipe delivers a creamy and flavorful treat that will impress everyone.
Key Ingredients for Homemade Vanilla Ice Cream
To whip up a batch of this delightful treat, you will need:
- 2 cups (480ml) heavy cream
- 1 cup (240ml) whole milk
- 3 ⁄ 4 cup (150g) granulated sugar
- 1 vanilla bean (or 2 tsp pure vanilla extract)
- 4 large egg yolks
- A pinch of salt

Step-by-Step Instructions
- Prepare the Vanilla Mixture: In a medium saucepan, combine the heavy cream, whole milk, and half of the sugar. Split the vanilla bean lengthwise, scrape out the seeds, and add both the seeds and pod to the saucepan. Heat this mixture over medium heat until it’s steaming (avoid boiling).
- Whisk the Egg Yolks: In a separate bowl, whisk the egg yolks with the remaining sugar and a pinch of salt until it’s pale and creamy.
- Temper the Eggs: Slowly pour a small amount of the warm cream mixture into the egg yolks while whisking constantly to temper the eggs. Gradually add the tempered yolks back into the saucepan with the cream mixture.
- Cook the Custard: Cook over low heat, stirring constantly until the mixture thickens and coats the back of a spoon, reaching a temperature of about 170–175°F (77–80°C). Remove from heat and strain the custard through a fine-mesh sieve to eliminate any lumps.
- Chill the Custard: Allow the custard to cool at room temperature. Once cool, cover and refrigerate for at least 4 hours or overnight for enhanced flavor.
- Churn the Ice Cream: After chilling, pour the custard into an ice cream maker and churn according to the manufacturer’s instructions until thick and creamy.
- Freeze and Serve: Transfer the churned ice cream into an airtight container and freeze for at least 4 hours to allow it to firm up. Once set, scoop into bowls or cones and enjoy the delicious homemade vanilla goodness!
What to Serve Homemade Vanilla Ice Cream With
Homemade vanilla ice cream is the perfect partner for many delectable desserts! Try serving it alongside a warm slice of apple pie, drizzled with caramel sauce, or enjoy it with rich chocolate brownies for a delightful contrast. For a fun twist, consider topping it with fresh fruits like strawberries or berries, or sprinkle some crushed cookies over the top for added texture. Pairing this ice cream with a cup of freshly brewed coffee or a glass of chocolate milk also makes for an enjoyable treat.
Top Tips for Perfecting Homemade Vanilla Ice Cream
To ensure your homemade vanilla ice cream turns out perfectly every time, keep these tips in mind:
- Chilling is Key: Allowing the custard to chill thoroughly before churning enhances flavor and texture.
- Egg Tempering: When mixing the egg yolks with the cream, take your time to avoid curdling the eggs, which can ruin the custard.
- Add-Ins: Get creative! During the final minutes of churning, consider folding in mix-ins like chocolate chips or cookie crumbles to personalize your ice cream.
Storing and Reheating Tips
Leftover homemade vanilla ice cream can be stored in an airtight container in the freezer. It will remain fresh for about 2 weeks, though it’s often enjoyed well before that! To minimize ice crystals, ensure that the ice cream is kept at a consistent cold temperature and avoid frequent opening of the freezer. When you’re ready to enjoy, simply scoop it straight from the freezer; if it’s too hard, let it sit at room temperature for a few minutes to soften slightly.
Now that you have the tools and knowledge to create your very own homemade vanilla ice cream, why not give it a try? Your taste buds will be delighted, and your friends and family will thank you for the unforgettable treat! Enjoy every creamy bite!

Homemade Vanilla Ice Cream
There’s something undeniably delightful about indulging in a scoop of homemade vanilla ice cream on a hot summer day. Creamy, rich, and bursting with the genuine flavor of vanilla, this treat is not just a dessert; it’s a nostalgic journey back to childhood. Imagine family gatherings, laughter, and smiles while savoring a bowl of this sweet goodness – it truly makes every moment special. Did you know that making ice cream at home is easier than you might think? With just a few simple ingredients, you can whip up a delightful batch in no time, tailor it to your taste, and enjoy a dessert that’s always a hit with both kids and adults alike.
Ingredients
- 2 cups 480ml heavy cream
- 1 cup 240ml whole milk
- 3 / 4 cup 150g granulated sugar
- 1 vanilla bean or 2 tsp pure vanilla extract
- 4 large egg yolks
- A pinch of salt
Instructions
-
Prepare the Vanilla Mixture: In a medium saucepan, combine the heavy cream, whole milk, and half of the sugar. Split the vanilla bean lengthwise, scrape out the seeds, and add both the seeds and pod to the saucepan. Heat this mixture over medium heat until it’s steaming (avoid boiling).
-
Whisk the Egg Yolks: In a separate bowl, whisk the egg yolks with the remaining sugar and a pinch of salt until it’s pale and creamy.
-
Temper the Eggs: Slowly pour a small amount of the warm cream mixture into the egg yolks while whisking constantly to temper the eggs. Gradually add the tempered yolks back into the saucepan with the cream mixture.
-
Cook the Custard: Cook over low heat, stirring constantly until the mixture thickens and coats the back of a spoon, reaching a temperature of about 170–175°F (77–80°C). Remove from heat and strain the custard through a fine-mesh sieve to eliminate any lumps.
-
Chill the Custard: Allow the custard to cool at room temperature. Once cool, cover and refrigerate for at least 4 hours or overnight for enhanced flavor.
-
Churn the Ice Cream: After chilling, pour the custard into an ice cream maker and churn according to the manufacturer’s instructions until thick and creamy.
-
Freeze and Serve: Transfer the churned ice cream into an airtight container and freeze for at least 4 hours to allow it to firm up. Once set, scoop into bowls or cones and enjoy the delicious homemade vanilla goodness!
-
What to Serve Homemade Vanilla Ice Cream With
-
Homemade vanilla ice cream is the perfect partner for many delectable desserts! Try serving it alongside a warm slice of apple pie, drizzled with caramel sauce, or enjoy it with rich chocolate brownies for a delightful contrast. For a fun twist, consider topping it with fresh fruits like strawberries or berries, or sprinkle some crushed cookies over the top for added texture. Pairing this ice cream with a cup of freshly brewed coffee or a glass of chocolate milk also makes for an enjoyable treat.
-
Top Tips for Perfecting Homemade Vanilla Ice Cream
-
To ensure your homemade vanilla ice cream turns out perfectly every time, keep these tips in mind:
-
Chilling is Key: Allowing the custard to chill thoroughly before churning enhances flavor and texture.
-
Egg Tempering: When mixing the egg yolks with the cream, take your time to avoid curdling the eggs, which can ruin the custard.
-
Add-Ins: Get creative! During the final minutes of churning, consider folding in mix-ins like chocolate chips or cookie crumbles to personalize your ice cream.
-
Storing and Reheating Tips
-
Leftover homemade vanilla ice cream can be stored in an airtight container in the freezer. It will remain fresh for about 2 weeks, though it’s often enjoyed well before that! To minimize ice crystals, ensure that the ice cream is kept at a consistent cold temperature and avoid frequent opening of the freezer. When you’re ready to enjoy, simply scoop it straight from the freezer; if it’s too hard, let it sit at room temperature for a few minutes to soften slightly.
-
Now that you have the tools and knowledge to create your very own homemade vanilla ice cream, why not give it a try? Your taste buds will be delighted, and your friends and family will thank you for the unforgettable treat! Enjoy every creamy bite!
